Sourdough Starter Test: It Works!


It rose! And the bread (The Pearl’s Walnut Levain from Maggie Glezer’s Artisan Baking Across America) is delicious! The reason it’s a little flat is because I was worried it was going to stick to the proofing bowl, so I stuck my hand in there to pry it out. The bowl was floured adequately, but my hand was not, and the dough got a little roughed up in the process. But, my starter works!

New Rochelle Cookies*

Okay, not only did I fix these babies, I perfected them. Recipe first, then let’s talk about how it went down.

New Rochelle Cookies

new rochelle cookies

Makes about 3 1/2 dozen

12 TB unsalted butter, at room temp
1 1/4 cups sugar
2 eggs
1/2 cup hazelnut butter (see below)
2 oz. bitter- or semisweet chocolate, melted and slightly cooled
1/2 tsp vanilla extract
1 1/2 cups all-purpose flour
1/2 cup cocoa powder
2 tsp kosher salt
3/4 tsp baking powder
1/4 tsp baking soda
1 cup of your choice (or several, adding up to 1 cup – I used 1/3 cup each chopped hazelnuts, hazelnut brittle, and hazelnut crunch, see below for more details): chopped hazelnuts, hazelnut brittle, hazelnut crunch, chocolate chips, chopped chocolate chunks, chocolate crumb

1. Cream together the butter and sugar, beating until fluffy. Add the eggs, one at a time, and beat until light, scraping the bowl as needed. Add the hazelnut butter and chocolate, and beat until it’s like a chocolate-hazelnut whipped cream cloud consistency.

2. Add the vanilla, and mix until combined. Add the dry ingredients all together, and, again, mix until just combined. Add the mix-ins and stir just until incorporated. Cover and refrigerate for at least an hour, and up to a week or so.

3. When you’re ready to bake, preheat your oven to 350° F. Line two baking sheets with parchment, and scoop out dough in heaping tablespoons, leaving an inch and a half between them. Bake for 12 minutes, rotating halfway if you need to, you know your oven better than I do. Remove and set the cookie sheets on racks to cool for five minutes, then use a spatula to transfer the cookies to racks to cool, but definitely at least try one warm.

toasted hazelnuts

toasted hazelnuts

To toast and peel hazelnuts:
Put them on a baking sheet in a 350° F oven for about 10-15 minutes, to your desired level of toastiness. Take them out of the oven and wrap them in a clean kitchen towel to cool. Then rub them with the towel to remove their skins.

Hazelnut Butter
Put a cup and a half toasted hazelnuts in the food processor with a pinch of salt and a pinch of sugar. Process until they’re crushed and starting to release their oils. Add 1/2 tsp canola oil (or hazelnut oil, or another unflavored oil) and process into butter. Or you could just buy hazelnut butter, just make sure it’s not too sugary.

hazelnut brittle

hazelnut brittle

Hazelnut Brittle
1 cup sugar
1/2 cup toasted hazelnuts

Cook the sugar over medium-high heat. When it just starts to melt, begin stirring constantly, to make sure it melts evenly, until it is a fairly dark amber (you probably know your limits as to how dark you like a caramel to be). Remove from heat, stir in the hazelnuts, and spread in a single layer over a silpat or other nonstick surface (do all of that quickly, because it will harden as it cools). Break into pieces, then throw it into a food processor and process to very small pieces, about the size of a grain of rice, so nobody breaks a filling.

Hazelnut Crunch and Chocolate Crumb
Are both Milk Bar recipes that I don’t know if I feel comfortable reposting. Anyway, the crunch involves an ingredient that is a pain to get your hands on, and maybe not worth it when all is said and done. If you did 1/3 c chopped hazelnuts, 1/3 c hazelnut brittle, and 1/3 cup chocolate chunks, I think you’d be aces.

cookie dough

cookie dough

You may have noticed that, in the end, I didn’t end up using any Nutella, or Whole Foods knock-off chocolate hazelnut spread. That’s because the original cookie recipe had way too much fat and sugar, and not enough hazelnut flavor. So, I decomnstructed it, and came up with a much better plan. I also walked back the Milk Bar-iness of the cookies, making them smaller and less fiddly (if you don’t count all the hazelnut stuff). And the end result? They are great! You can taste the chocolate and the hazelnut. They are soft, but with little crunch-sparkles from the brittle. They are very very worth it, and I hope you give them a try!

*The name comes from the episode of Gourmet Makes where Claire Saffritz recreates Ferrero Rocher candies, and Brad Leone calls them New Rochelle Balls, and the name sticks.

Cinnamon Rolls As Big As Your Head (ver 2.0)

Those of you who have followed me across platforms might remember my slight obsession with Robin McKinley’s book Sunshine, and the description of the cinnamon rolls baked therein. More about that later, but, since I’m just like you guys when it comes to food blogs (and since I’m not doing this to make money anyhow) I’m’a put the recipe first.

Cinnamon rolls

the rolls

Makes 24

Dough:
3/4 cup milk
1 stick (8 TB) unsalted butter
3/4 cup water
3 large eggs
1 1/2 tsp vanilla extract
6 cups bread flour
2 1/4 tsp instant yeast
6 TB sugar
1 1/2 tsp kosher salt

Filling:
1 stick (8 TB) unsalted butter, melted
1/2 cup sugar
1/2 cup light brown sugar
1 TB cinnamon
pinch salt

Icing:
3 cups confectioner’s sugar
3 TB unsalted butter at room temperature
3/4 tsp vanilla extract
3-4 TB milk

1. Make dough: scald the milk, then remove from the heat and add the butter. Let sit until melted and slighly cooled, then add the water, vanilla, and eggs. In the bowl of a stand mixer (or just a large bowl), mix the flour, yeast, and sugar. Add the milk mixture and stir until combined. Cover the bowl and let rest for 20 minites.

2. Sprinkle the salt over the dough, then knead, either by hand or by dough hook, until it starts to look smooth. If you need to, you can add more flour; the dough can be soft, but it shouldn’t be too sticky. Put the dough in a lightly oiled bowl, cover, and refrigerate overnight (or don’t refrigerate, and let rise for about an hour, until puffy but not quite doubled, you early riser, you).

3. The next morning, take the dough out of the fridge, and let it come to room temp (about 2 hours). Meanwhile, mix the sugars, cinnamon, and salt for the filling.

4. Divide the dough in half, and follow this procedure for each half: Roll the dough out on a lightly floured surface into a 10″ x 16″ rectangle (approximately). Brush half the melted butter over the dough, leaving a half- inch along one shorter end for the eventual seam. Sprinkle with half the cinnamon sugar, then roll up, starting with the short side opposite your seam side. Pinch the seam down to seal, and then cut into 12 equal pieces and place on a baking sheet lined with parchment (note: if you like squishier, close together rolls, instead use a greased 9″ x 13″ pan).

5. Cover, and let rise for an hour, or until the rolls have expanded and gotten puffy. During the last 15 minutes or so of the rise, preheat your oven to 375° F.

6. Bake for 20-25 minutes, or until they are barely browned on top. While they’re baking, you can make the icing by mixing all the ingredients (use the smaller amount of milk, and sift your confectioner’s sugar if it’s chunky) and then adding more milk or more sugar, until you’ve got a fairly thick icing (it should be more spreadable than pourable). When the rolls are done, remove them to a rack, and spread them with the icing. Then you get to eat them!

Cinnamon roll dough and filling

ready to roll

Cinnamon roll slices

all sliced up

Optional Tangzhong Starter
While I was looking at cinnamon roll recipes to compare them, I found a great recipe on thr King Arthur Flour website that recommends using a Tangzhong starter (read about it here), and it really works well with this recipe. I use 7 1/2 TB each of milk and water, and 5 1/2 TB of flour. Mix those up in a saucepan, heat over medium-high while whisking constantly, until mixture thickens (don’t worry, it’s really obvious). Let cool to lukewarm, and add to your dough with the milk mixture.

Cinnamon rolls before rising

before rising

Cinnamon rolls after rising

after rising

Now that that’s out of the way, let’s talk about how these came about. First of all, if you’re unfamiliar with Robin McKinley’s work: run, don’t walk, to the nearest library or bookstore, and put your hands on a copy of Sunshine, and The Hero and the Crown, and, well, any of her books really, but especially those two. The Hero and the Crown is high fantasy, with gods, ancient dragons, and magic swords, but not much in the way of cooking (unless you count potions of fire resistance). Sunshine is an urban fantasy, featuring vampires, nature magic, and cinnamon rolls as big as your head. The main character, Sunshine, is a baker in a cafe, and those cinnamon rolls are her specialty. Whenever I think about Sunshine, I think about cinnamon rolls, and whenever I think about cinnamon rolls, I think about Sunshine. It’s as simple as that.

There is, unfortunately, no official recipe, although there are a couple scattered LiveJournal posts by the author that contain some hints. So these are a combination of my favorite bits of several cinnamon roll recipes, incorporating those hints, and ending up with just a really delicious treat that I’m glad I don’t have to wake up at 4:00 every morning to prepare. The way I make them they aren’t quite as big as your head, but they’re otherwise exactly what I want in a cinnamon roll.
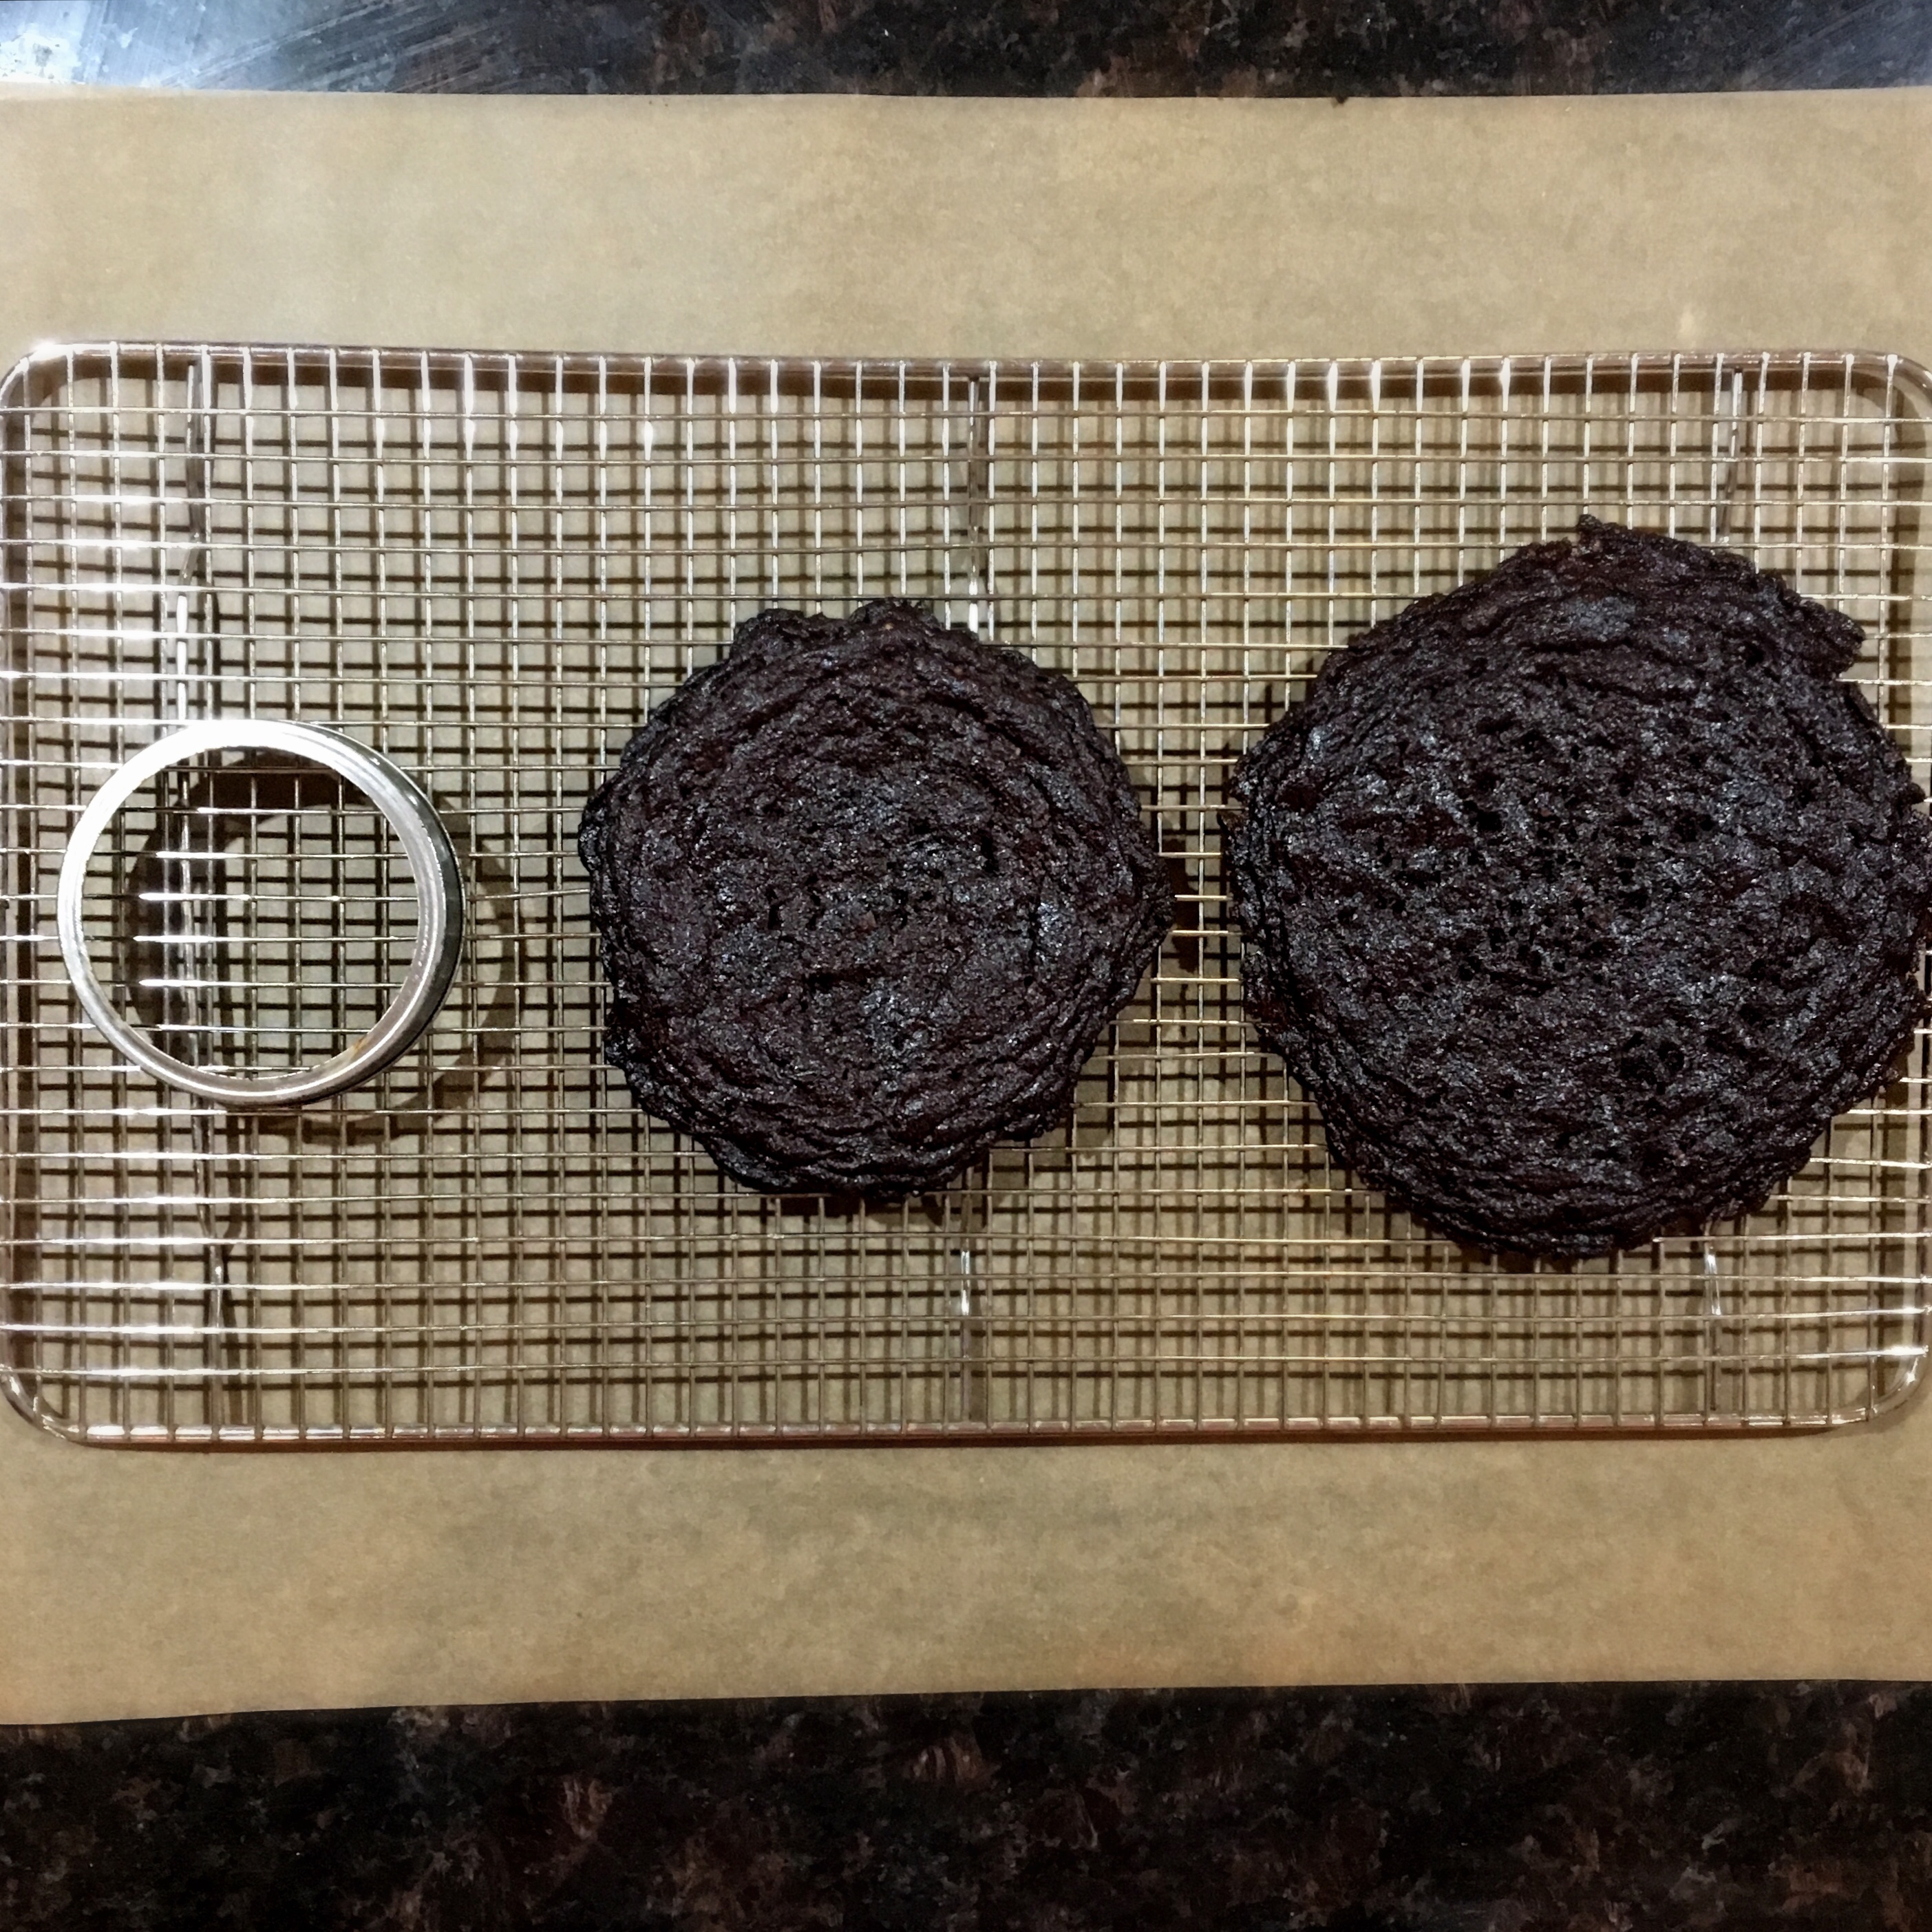
Finished cinnamon rolls

finished rolls

Cookies

One of my New Year’s resolutions was to make more cookies. It came about because I made the usual epic amount of cookies for the holidays, and some of them were really fantastic, but the sheer over-abundance made it difficult to appreciate them individually. Cookies have a really great time-commitment-to-happiness ratio as far as desserts go (the way I make them, anyway; there are some insanely complicated cookie recipes out there, and then there’s all the fancy icing stuff…), and I guess I wanted more of that spread throughout the year.

Plates of holiday cookies
so many cookies

Then this spring my daughter was going through kind of a rough patch, and, when I asked her how I could support her, she requested cookies. Specifically, some Nutella-stuffed cookies from the Delish cookbook. I was happy to oblige, and happier to learn that my baking skills might contribute to making her day a little brighter, but the cookies were a production. I mean, the hazelnut-cocoa-spread-from-Whole-Foods-filling was tasty, but the cookie surrounding it was kind of plain, and stuffing them was a whole thing. By the time they were finished, I was inspired to try and come up with a chocolate hazelnut cookie in the style of a Milk Bar cookie, and after some planning, and some ordering of exotic ingredients from Amazon, I got to work.

And here is where I wish I had a finished cookie recipe to give to you, for this, my first real post, but it turns out we are still in the testing phase of this plan.

chocolate hazelnut cookies
these gigantic cookies will devour us all

My friends, that is a wide-mouth jar lid for scale. The smaller cookie, baked on a chilled cookie sheet, is pretty close to what I’m looking for, but it still needs some work. How do they taste? Oh, fantastic. Maybe needs a little more hazelnut. But they spread like, well, obviously, and they released a bit too much fat on baking. I think less butter and sugar, and a bit more flour, maybe some chopped up hazelnuts, and we’ll be good to go.

So instead of a recipe, this is a lesson being patient with yourself, and allowing yourself to take risks, and make mistakes. It’s a lesson for me, mostly, but maybe you need to hear it too?

Anyway, welcome to the blog, and I hope you stick around, because I promise those finished cookies are going to be amazing when I’m done.